
Corn Field Mini Quilt Tote Bag Tutorial

What you'll need

- Download The Weekend Quilter’s Corn Field mini quilt pattern
- Printer paper and printer to print the foundation paper piecing templates
- Fabrics for two Corn Field mini quilts*. One mini quilt per front and back of the bag. Fabric requirements for the quilt bag exterior take into account room for error and squaring up to ensure precise piecing:
- Fabric A (Kona Cotton in Tarragon): 1 yard (92 cm)
- Fabric B (Kona Cotton in Sunflower): ⅜ yard (30 cm)
- Fabric C (Kona Cotton in Creamsicle): ⅛ yard (12 cm)
- Fabric D (Kona Cotton in Meringue): ¼ yard (23 cm)
- ¾ yard (69 cm) of fabric for bag lining (Kona Cotton in Yarrow)
- Basic sewing machine
- Rotary cutter
- Quilting rulers
- Cutting mat
- Fabric scissors
- Batting - There needs to be at least 4" overhang on the front and back of the tote bag. Thereby the minimum batting requirement for these two parts are, two 19" x 24" rectangles.
- Sewing pins
- Coordinating thread, 50wt cotton – for piecing squares and rectangles together and decorative quilting stitches.
- Belting straps – At least 1¼ yards (115 cm) to make two 21" lengths.
- Iron
- Basting spray (if spray basting) or safety pins (if pin basting)
- Hera marker or blunt butter knife
- Walking foot or dual feed dog (optional)
- Painter’s tape (optional)
- Point turner (optional)
- Seam ripper
- Machine-washable fabric pen or pencil
Cutting Directions
|
Fabric A |
5 strips, 6½" x WOF, sub-cut: · 24 rectangles, 6½" x 3½", A1, Templates B and C· 24 rectangles, 6½" x 2¾", A2, Templates A and D · 24 rectangles, 6½" x 2", A3, Templates A and D |
|
Fabric B |
4 strips, 2" x WOF, sub-cut: · 48 rectangles, 2" x 3", B1, Templates A, B, C & D |
|
Fabric C |
2 strips, 2" x WOF, sub-cut: · 48 rectangles, 2" x 1½", C1, Templates A, B, C & D |
|
Fabric D |
2 strips, 3" x WOF, sub-cut: · 48 rectangles, 3" x 1½", D1, Templates A, B, C & D |
|
Fabric E |
1 strip, 16" x WOF, sub-cut: · 2 rectangles, 16" x 21" |
*Note: Backing and binding fabrics listed in the original pattern have been omitted from the tote bag project and is replaced by the bag lining fabric.
Directions
Read through all the directions before you start, sew all right sides together with ¼" seam allowance, unless specified.
Step 1: Refer to page 4 in the original pattern for printing directions and print a total of 12 Templates A and 12 (page 4) and 12 Templates C and D (page 5). Then cut the templates out along the solid line. The inner, dotted lines show the finished size of the unit.
Step 2: Create 2 Corn Field mini quilt tops. Refer to the original pattern for details on how. For the remainder of the project, the quilt tops will be referred as Bag Exterior units.
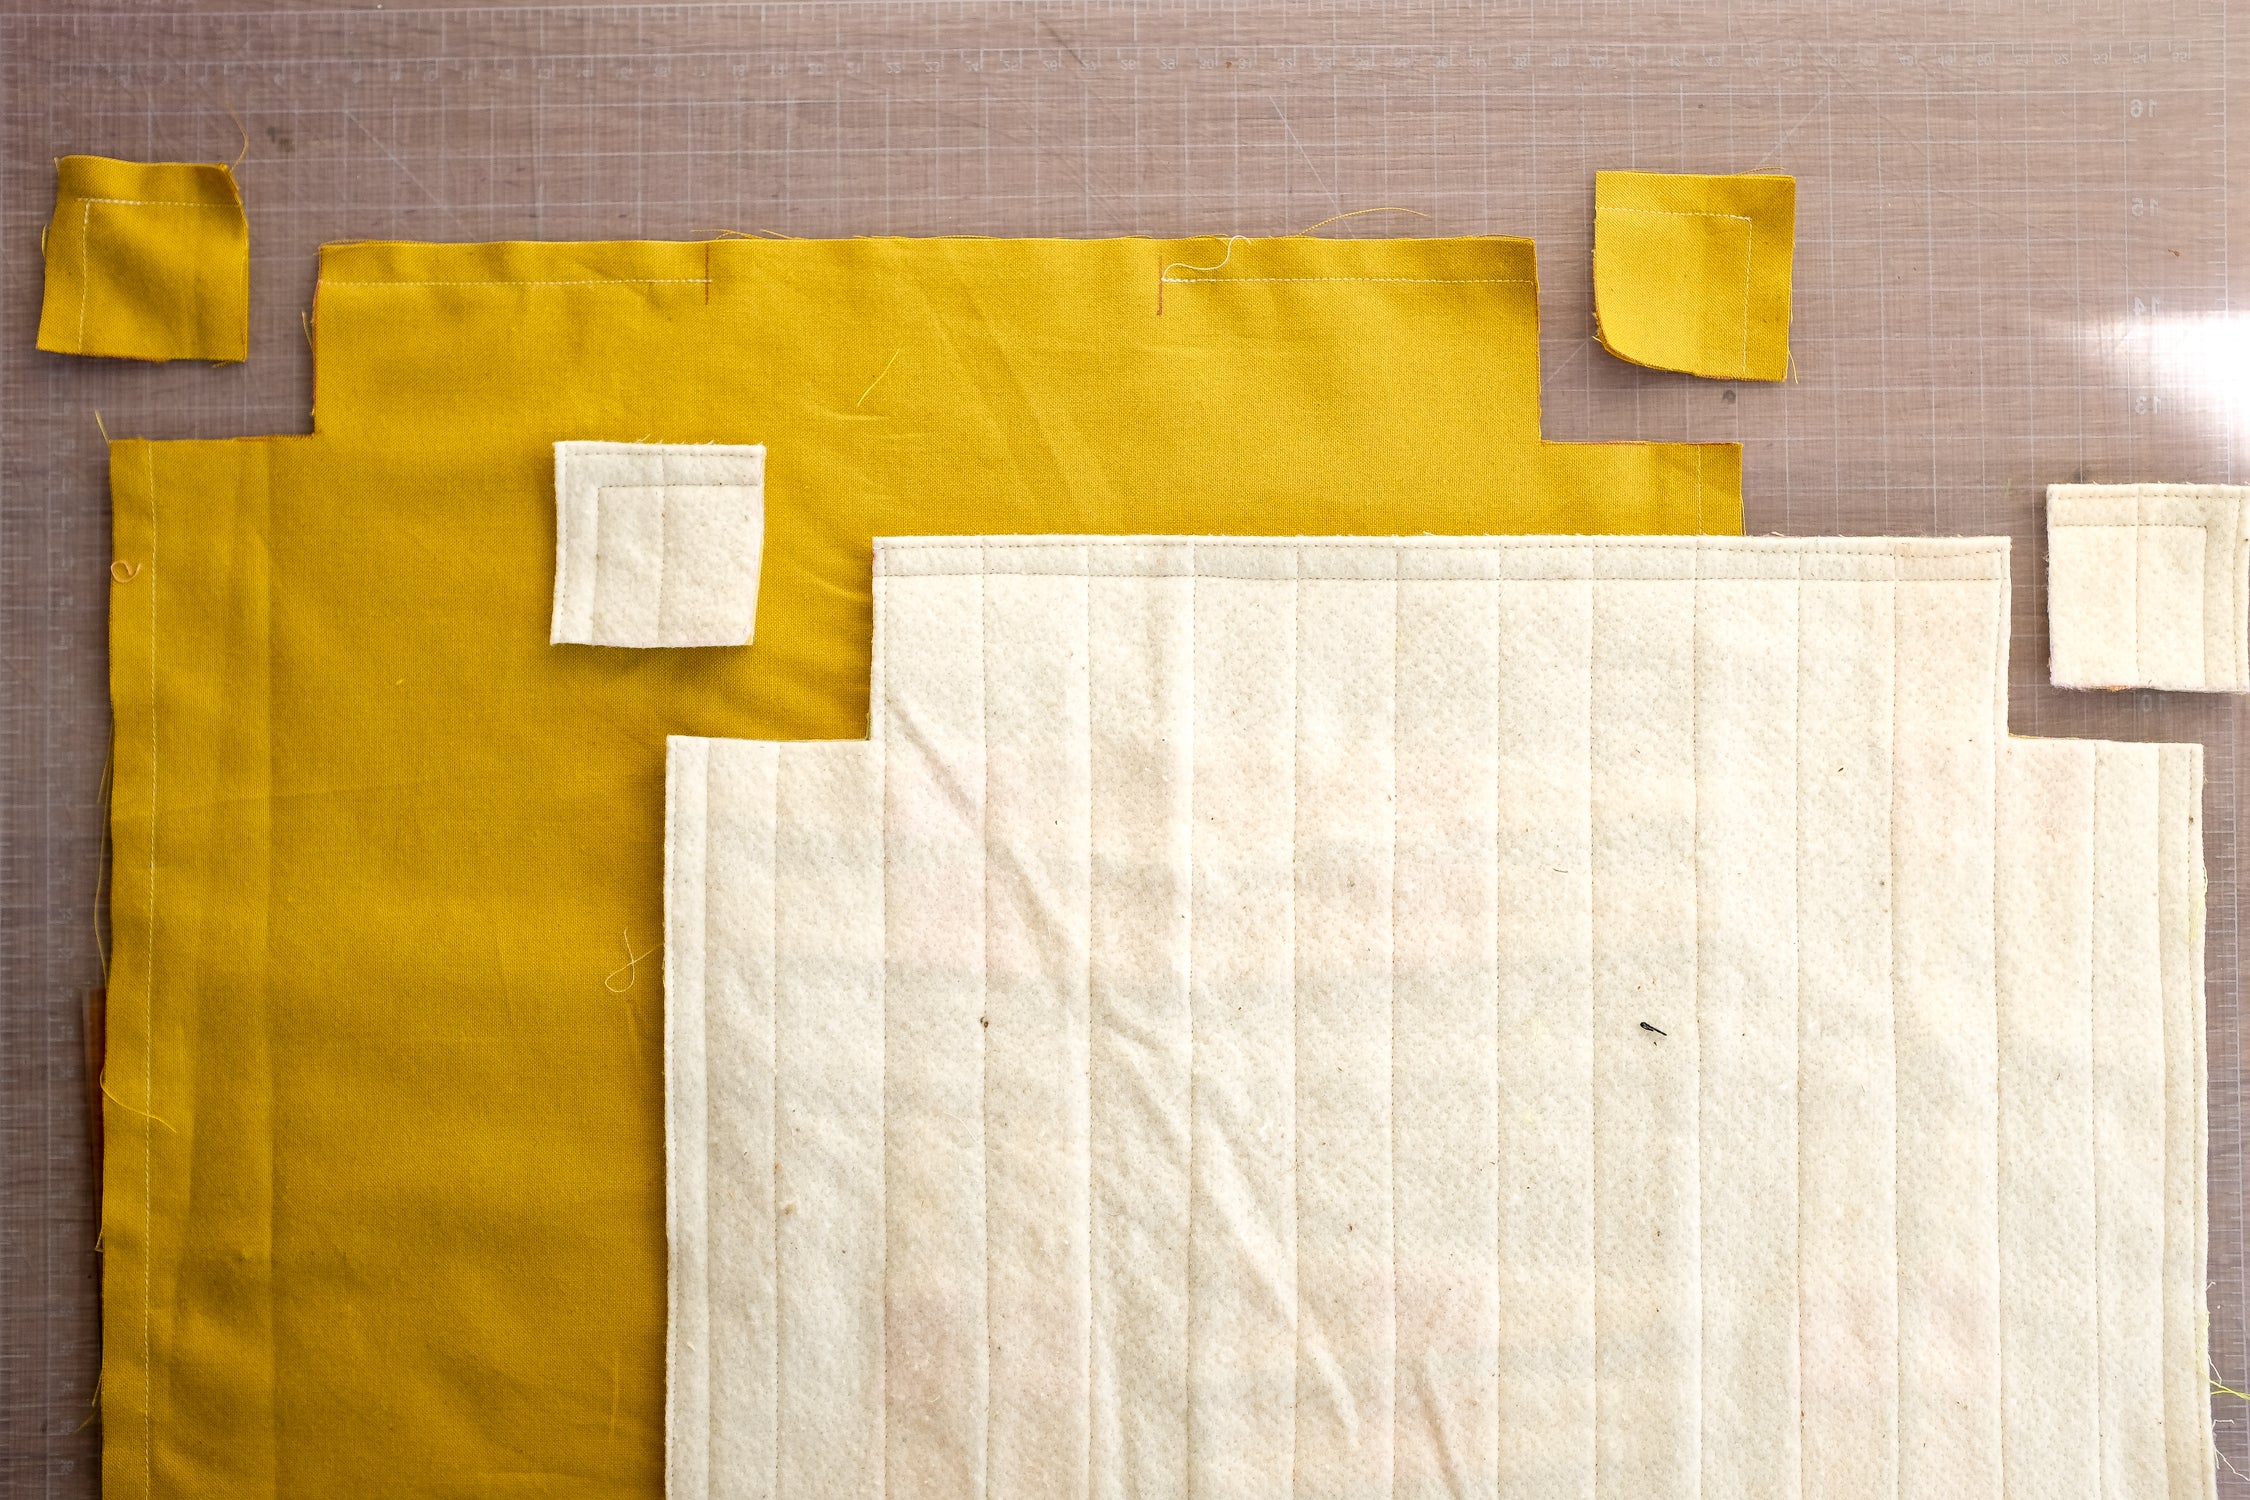
Step 3: A quilt sandwich usually consists of three layers: quilt top, batting and quilt back. For this project, the sandwich is made up of two layers: the Bag Exterior unit (created in the previous step) and a layer of batting. This is because the quilt back (in this instance, the Bag Lining) is attached at a later step and there is no binding involved.

Create a total of 2 Bag Exterior sandwiches. Each cushion sandwich consists of the following layers:
- Bag Exterior unit (from the previous step)
- Batting 19" x 24" rectangle
The batting goes down on the basting surface first. Followed by the Bag Exterior unit, wrong side touching the batting.
Spray or pin baste the two layers together, and quilt as desired.
Step 4: Trim excess batting, and square up all Bag Exterior sandwiches. Take extra care when square up. Each Bag Exterior sandwich must measure 15" x 20" rectangle.

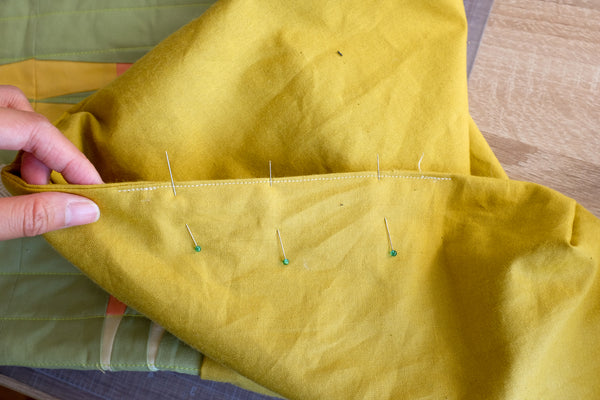
Step 5: With right sides together, match the raw edges of 2 Bag Exterior. Pin the two longer edges and one shorter edge together, leaving an opening on one shorter edge.
Repeat this step with 2 Fabric E 16" x 21" rectangles for the Bag Lining.

Set pinned Bag Exterior Sandwiches aside for step 8.
Step 6: On the wrong side and pinned shorter edge of Bag Lining, use a fabric marker to mark approx. 4½" opening.

Step 7: Starting from the top right corner of the bag lining, sew ½" away from the long raw edge, turn and pivot the bag lining, and sew along the shorter edge, and stop at the marked guideline from the previous step. Then start at the second guideline, sew along the shorter edge, turn and pivot the bag lining, and sew along the longer edge. Leave the top shorter edge open. The small opening at the bottom of the bag lining will be used to turn the bag right side out at step 15.

Also, don’t forget to reverse stitch at the start and end of each seam for additional enforcement. Set bag lining aside for step 13.
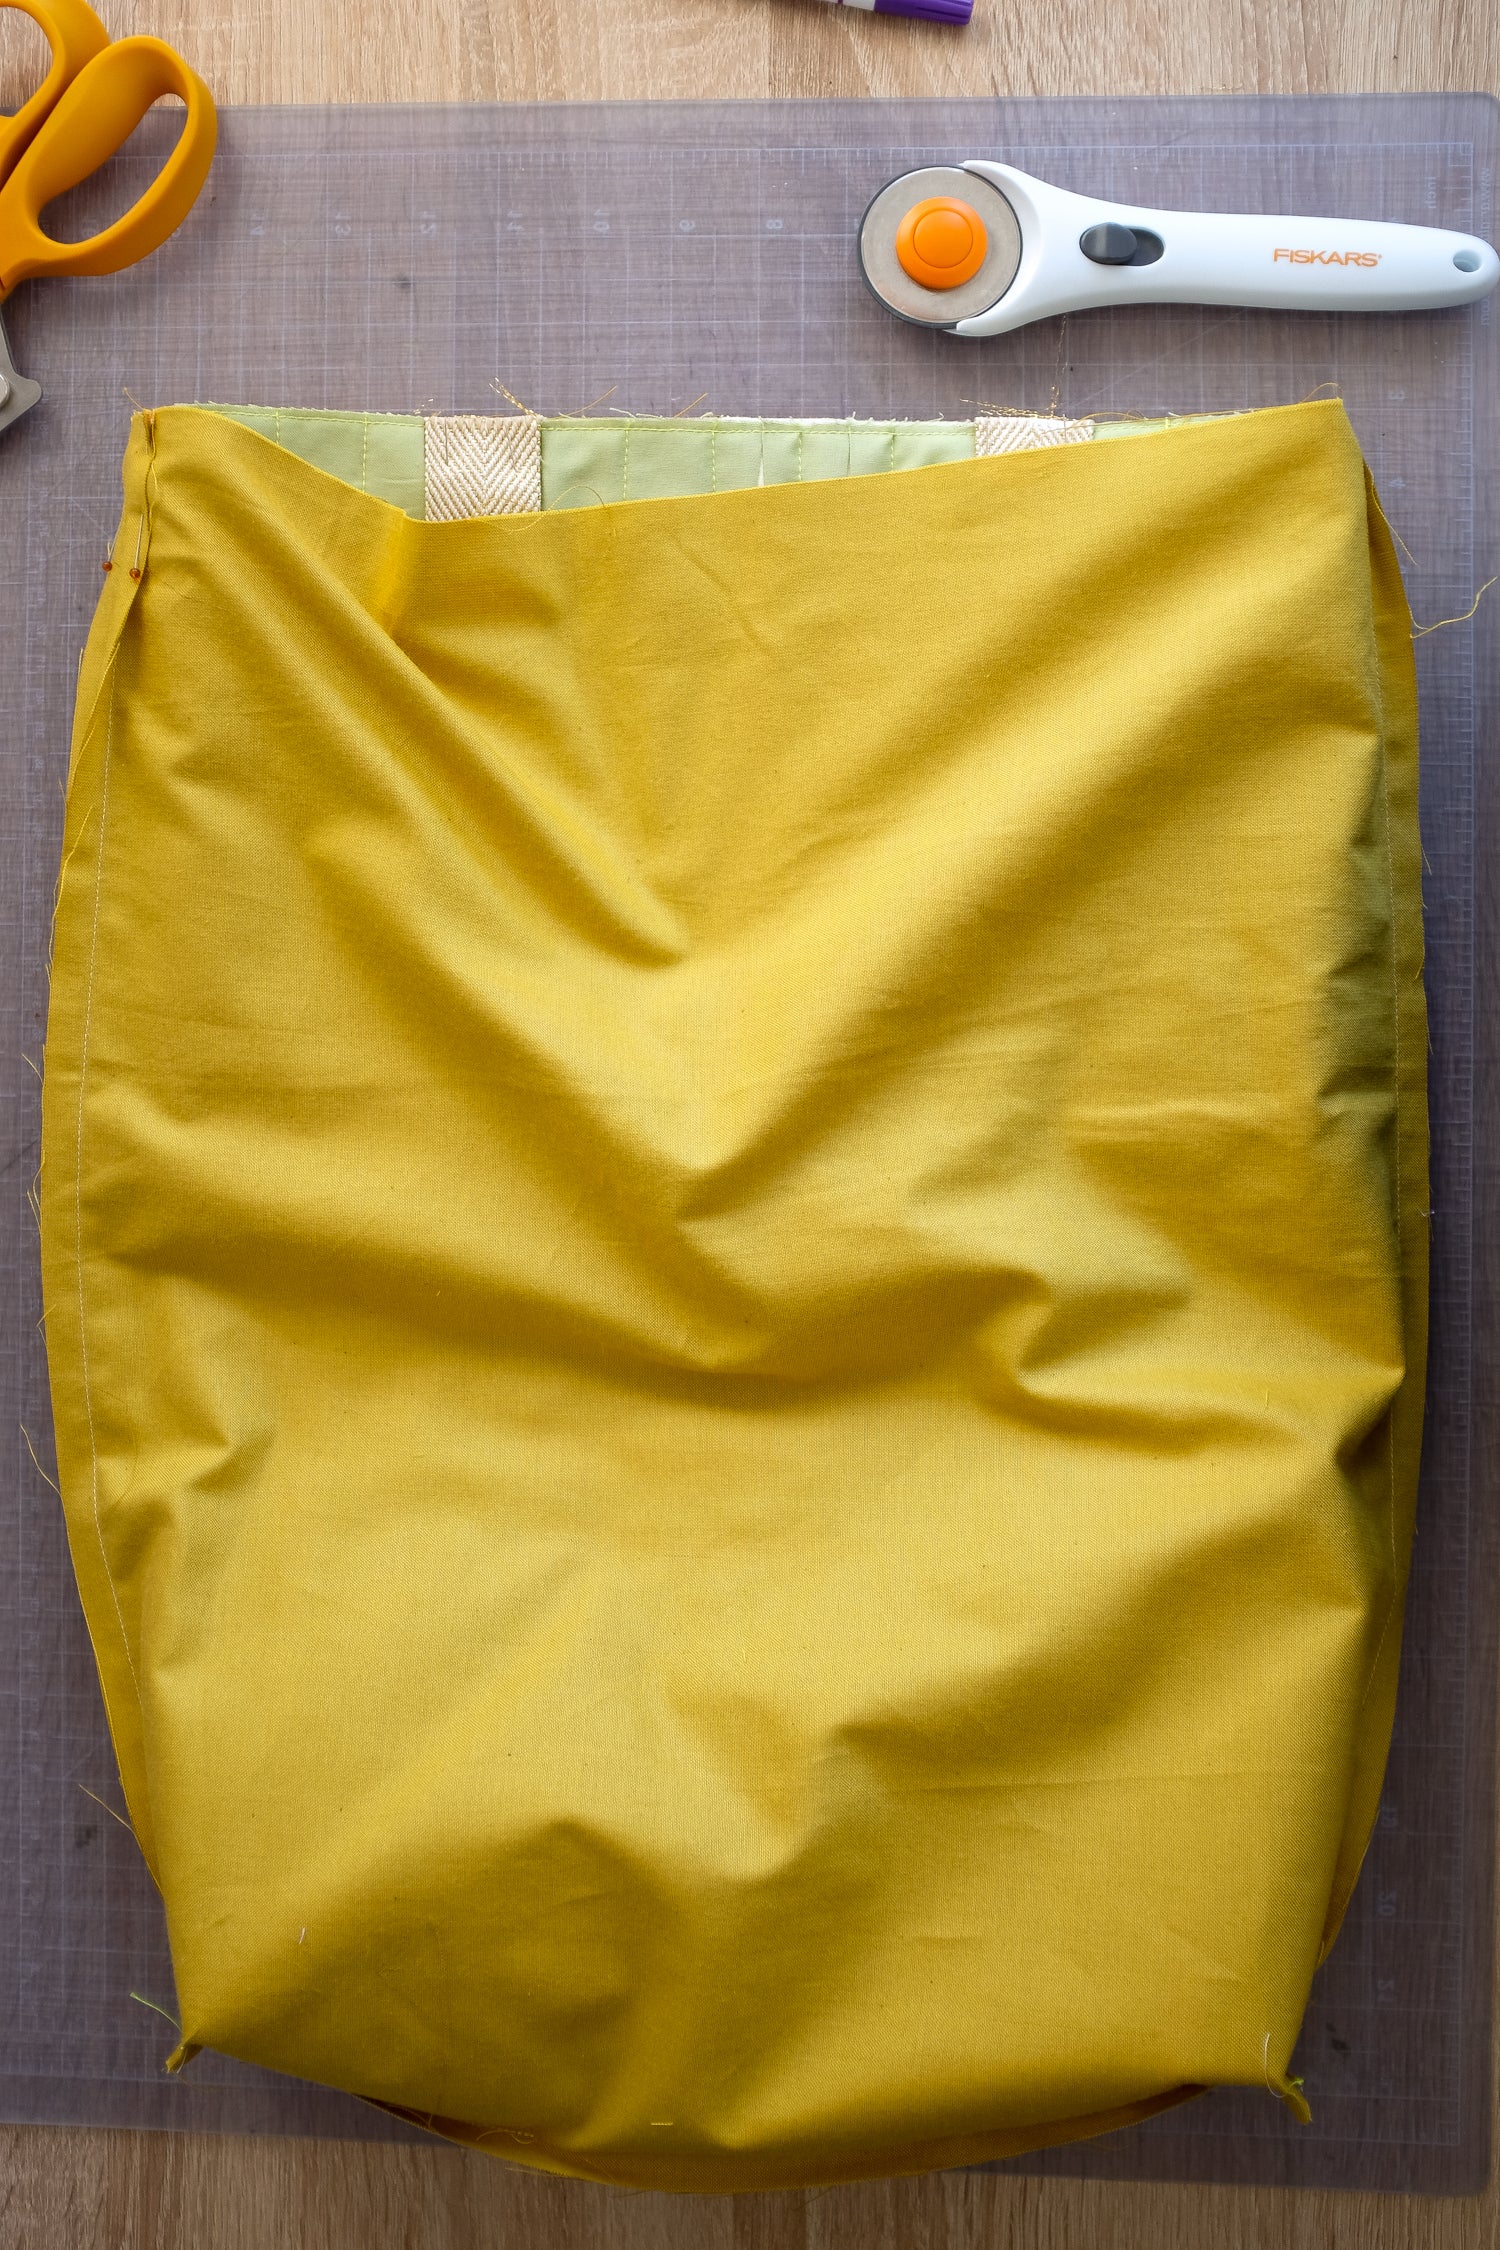
Step 8: Similar to the previous step, ensure sewing machine seam allowance is set at ½". Sew together Bag Exterior sandwiches from step 5 – starting from the top right corner of the Bag Exterior sandwich, sew along the two longer edges and one short edge.
Step 9: Lay the Bag Exterior and Bag Lining flat, keeping them turned the wrong side out. With a quilting ruler and fabric marker or pencil, mark a 2" square on both the bottom corners of each the Bag Exterior and Bag Lining (Bag Exterior used in photographed example).
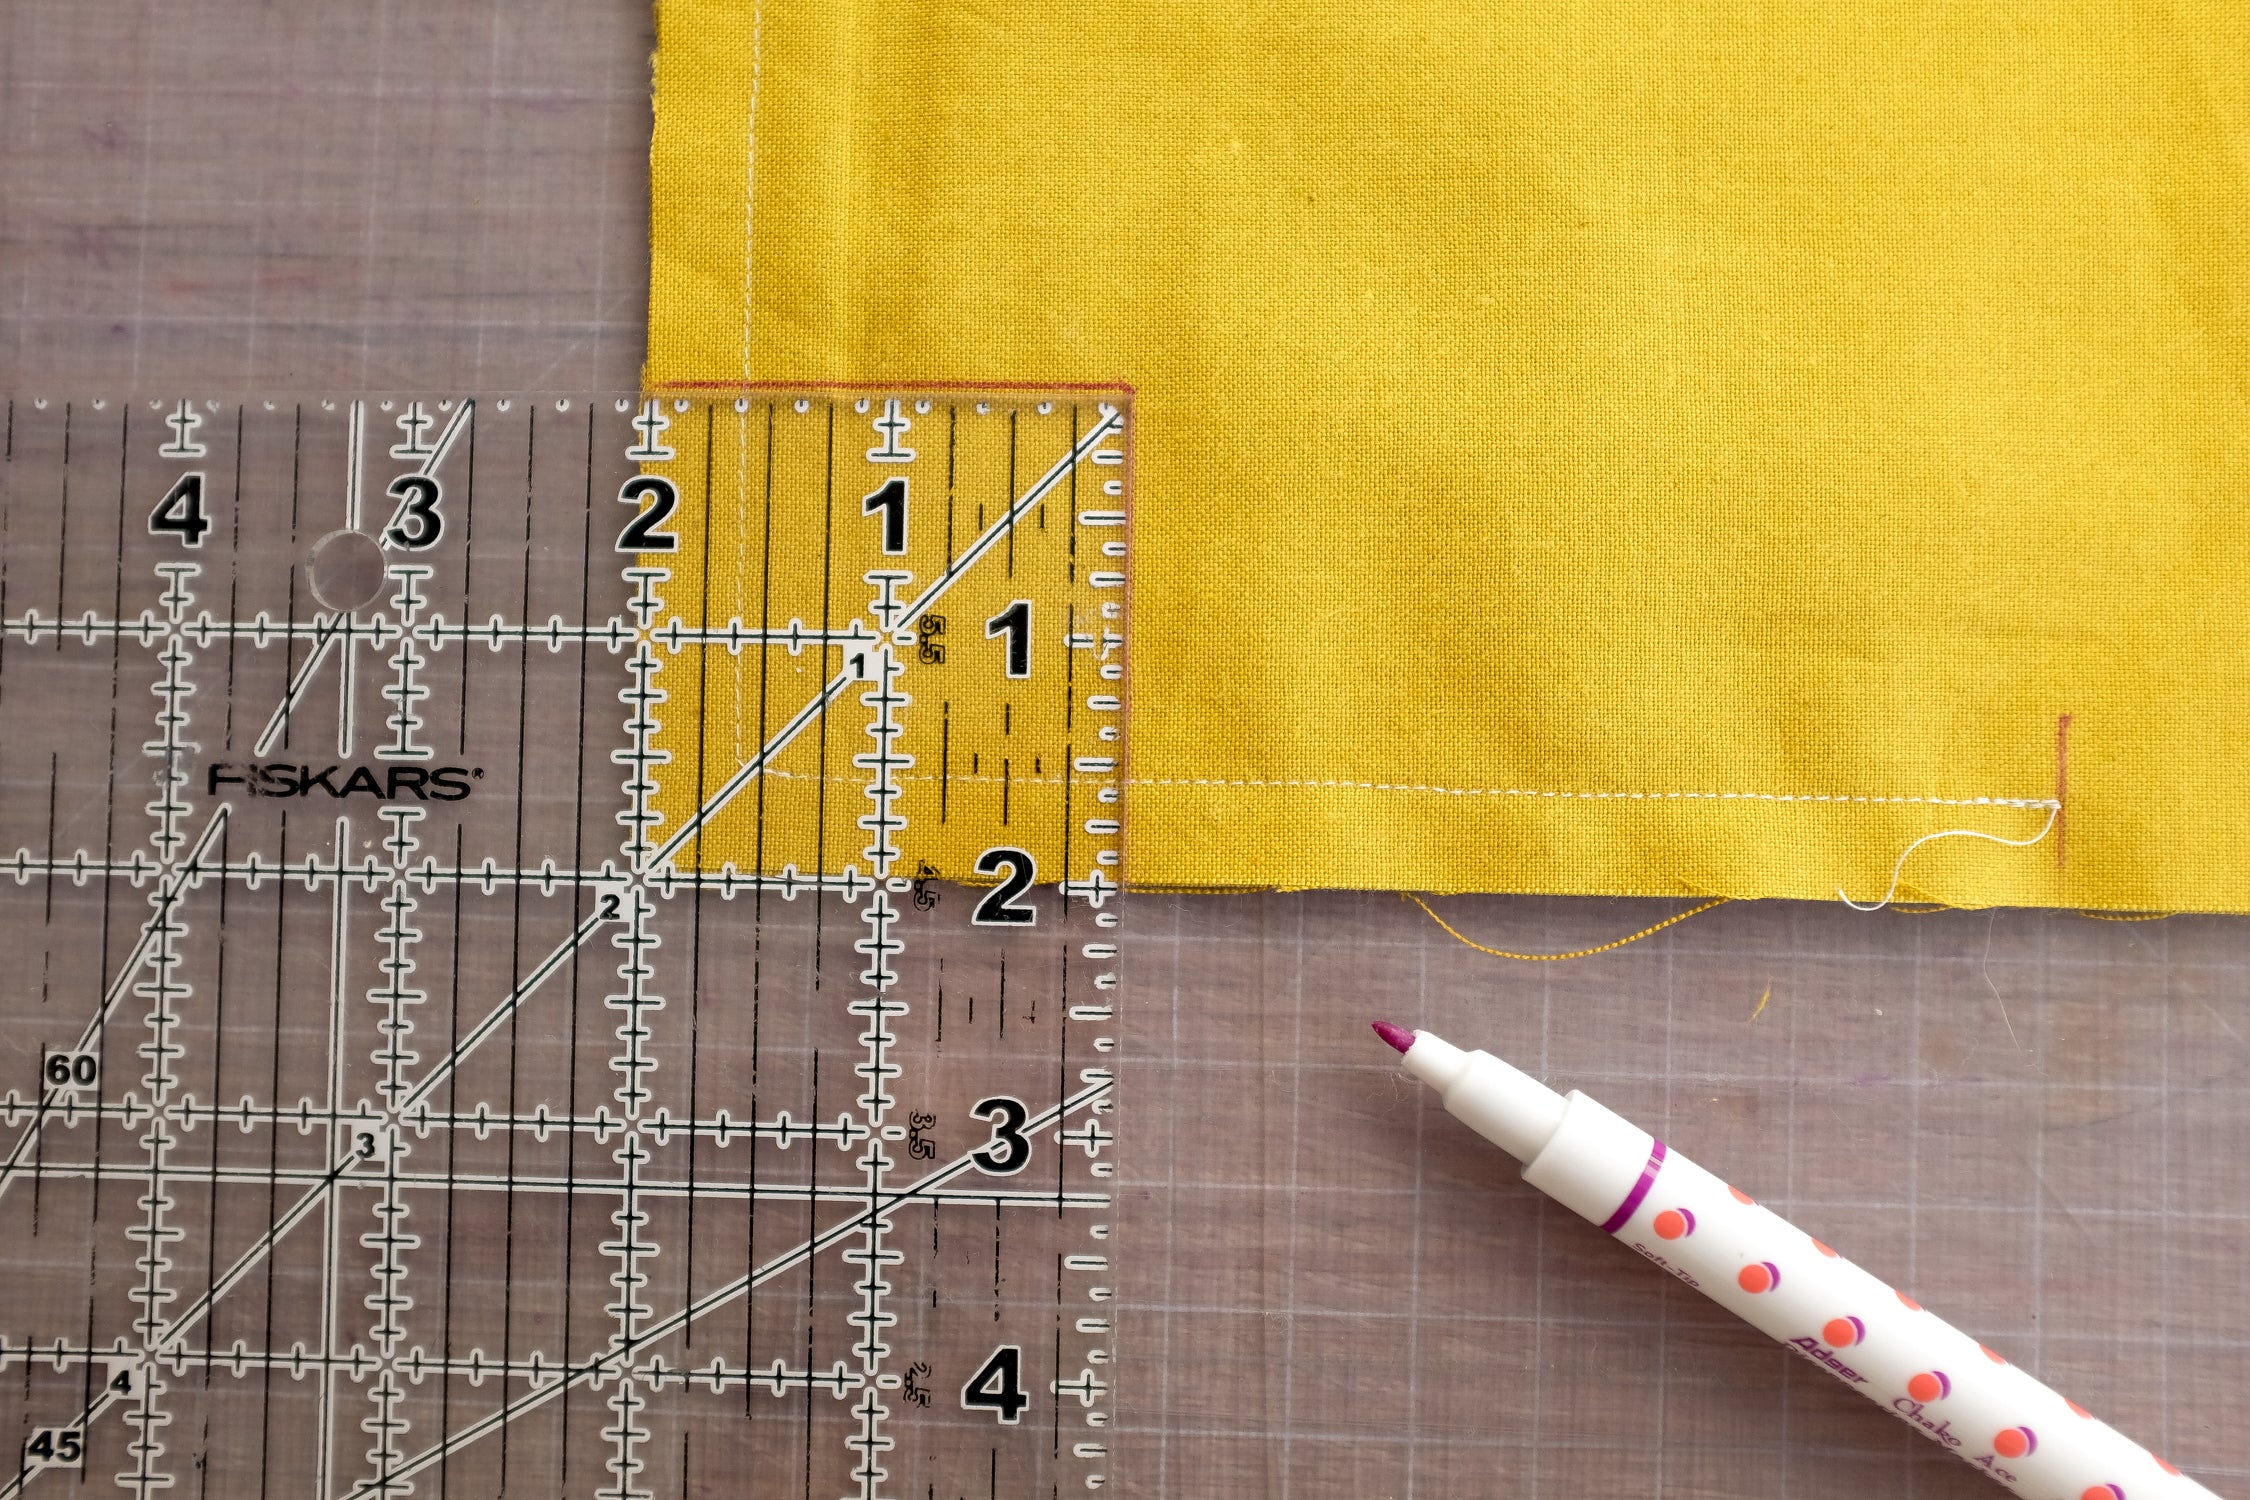
With a pair of fabric scissors or ruler and rotary cutter, carefully cut the marked squares from each bottom corner.

Step 10: Open up one of the corners. Bring the side and bottom seams together, matching the seams. Pin and sew ½" away from the raw edge. For additional enforcement, reverse stitch at the start and end of each seam (Bag Exterior used in photographed example).
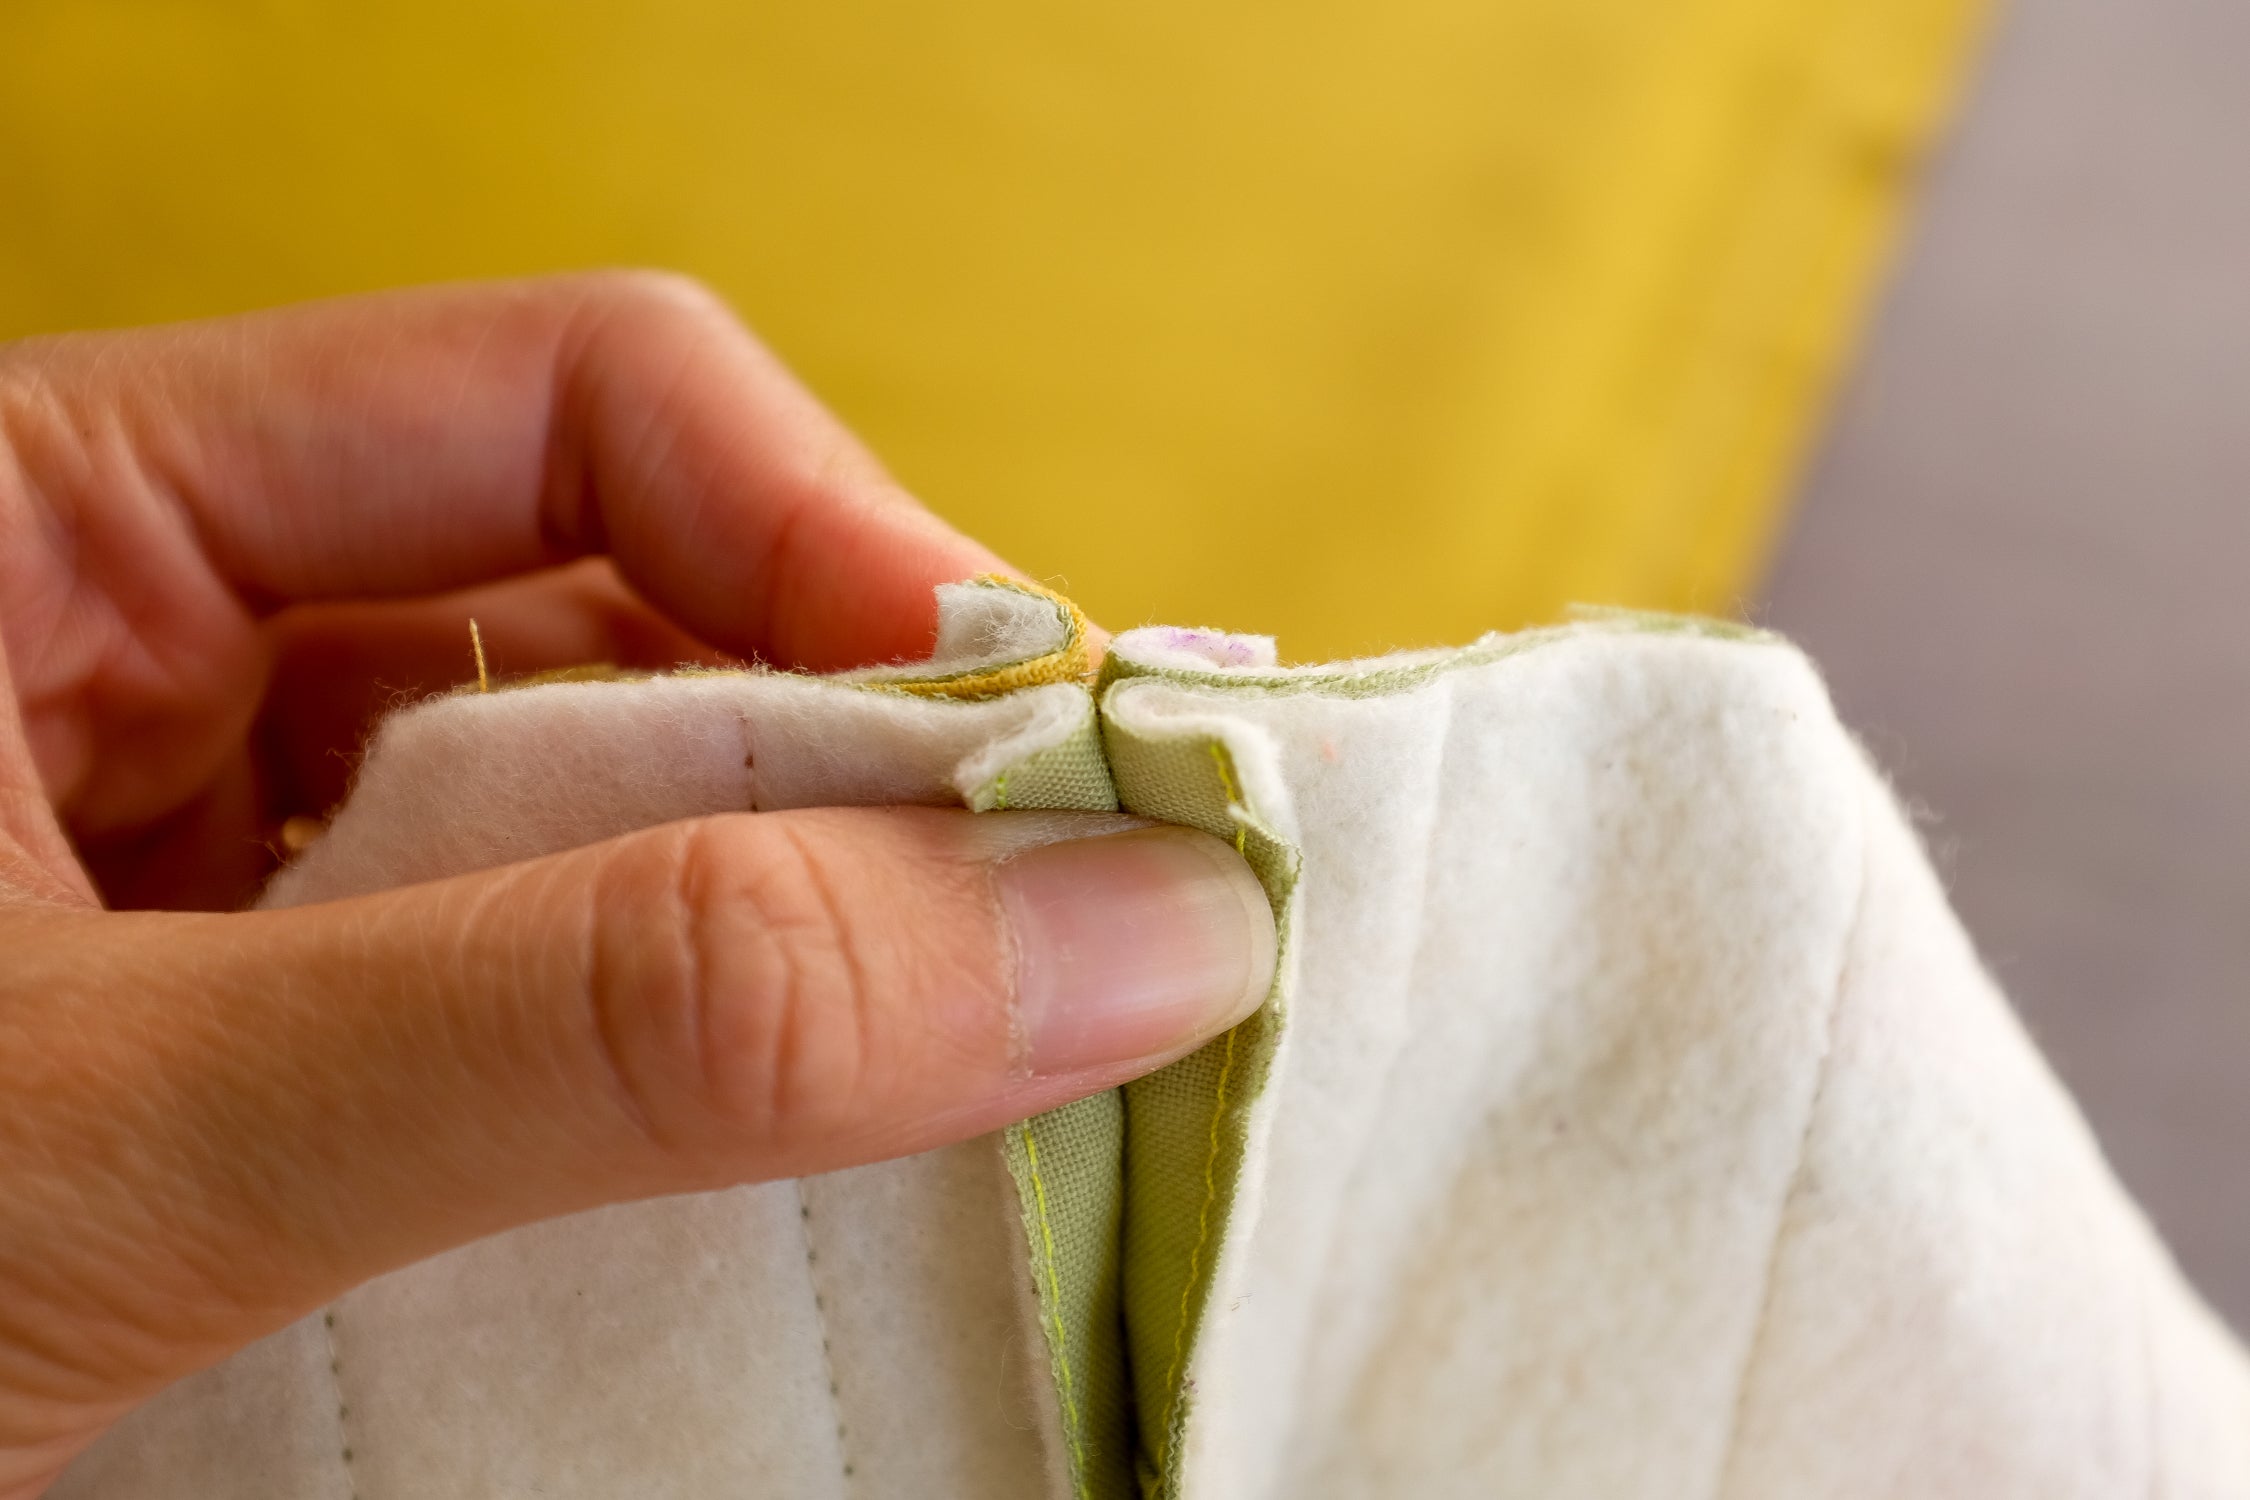

Repeat with the remaining cut out corners of Bag Exterior and Bag Lining. Set Bag Lining aside for step 13.
Step 11: Turn Bag Exterior right side facing out. With a fabric pen or pencil, at the bag opening (top shorter edge of the Bag Exterior), mark two guidelines, 3½" away from the top corners. These guidelines are used to determine placement of belting straps.

Repeat this step on the second side of Bag Exterior.
Step 12: Using the marked guidelines from the previous step, pin and sew (½" away from the raw edge) 1 Bag Strap on each side of the Bag Exterior. Take extra care when pinning and sewing. Ensure the Bag Straps are not twisted and reverse stitch at the start and end of each seam for additional enforcement.


Step 13: Take Bag Lining from step 10, wrong side facing out. Slide Bag Exterior inside Bag Lining. Therefore, right sides of Bag Exterior and Bag Lining are facing each other.
Start at one side of the bag, line up side seams and raw edges. Pin Bag Exterior and Bag Lining together. When pinning, ensure the side seams on the Bag Exterior and Bag Lining are open to reduce bulk. Repeat with the second side of the bag. Then, pin in between the sides to hold the Bag Exterior and Bag Lining in place.

Step 14: Sew ½" away from the raw edge to secure the Bag Exterior, Bag Lining and Bag Straps.

Step 15: At the bottom of the Bag Lining, use the hole to carefully flip the bag right side out.


Step 16: Go back to the sewing machine, with a coordinating thread, edge stitch to close up the hole at the bottom of the Bag Lining.

Step 17: Insert the Bag Lining inside of the bag. At the top opening of the bag, pin Bag Lining to Bag Exterior, and use coordinating thread to sew approximately ¼" and ½" below the top opening. These seams will provide additional enforcement and prevent the Bag Lining from coming out of the bag.
Trim loose threads to complete the project.

Share your progress and completed cushion on social media by tagging:
#cornfieldquilt #theweekendquilter @the.weekendquilter
