LIttle Cottontail Baby Quilt Tutorial

Originally conceived as part of the Springtide Meadow block series, the Little Cottontail quilt block is not just limited to projects for the spring and Easter. This adorable block brings a touch of whimsy and charm to several projects including quilted bags, cushions and more. This blog tutorial demonstrates how to incorporate Little Cottontail into a baby quilt that’s sure to be cherished for years to come.

The blog post provides you with the fabric requirements for the backing, binding and the solid squares between the Little Cottontail blocks only. It excludes yardage for the individual Little Cottontail quilt blocks. The Little Cottontail pattern is block based and fabric requirements for each block are provided in the pattern, which can be downloaded here. It is also assumed in the block pattern that you are either using scraps, fat quarters or eighths in your stash to make them. The completed baby quilt measures 40in x 40in (102cm x 102cm).
The Little Cottontail quilt block is foundation paper pieced (FPP). Prior knowledge of machine piecing and FPP is required. For more information on how, there’s a tutorial on The Weekend Quilter’s blog and for more visual support, check out Angela Water’s paper piecing tutorial on YouTube.
Colour Inspirations
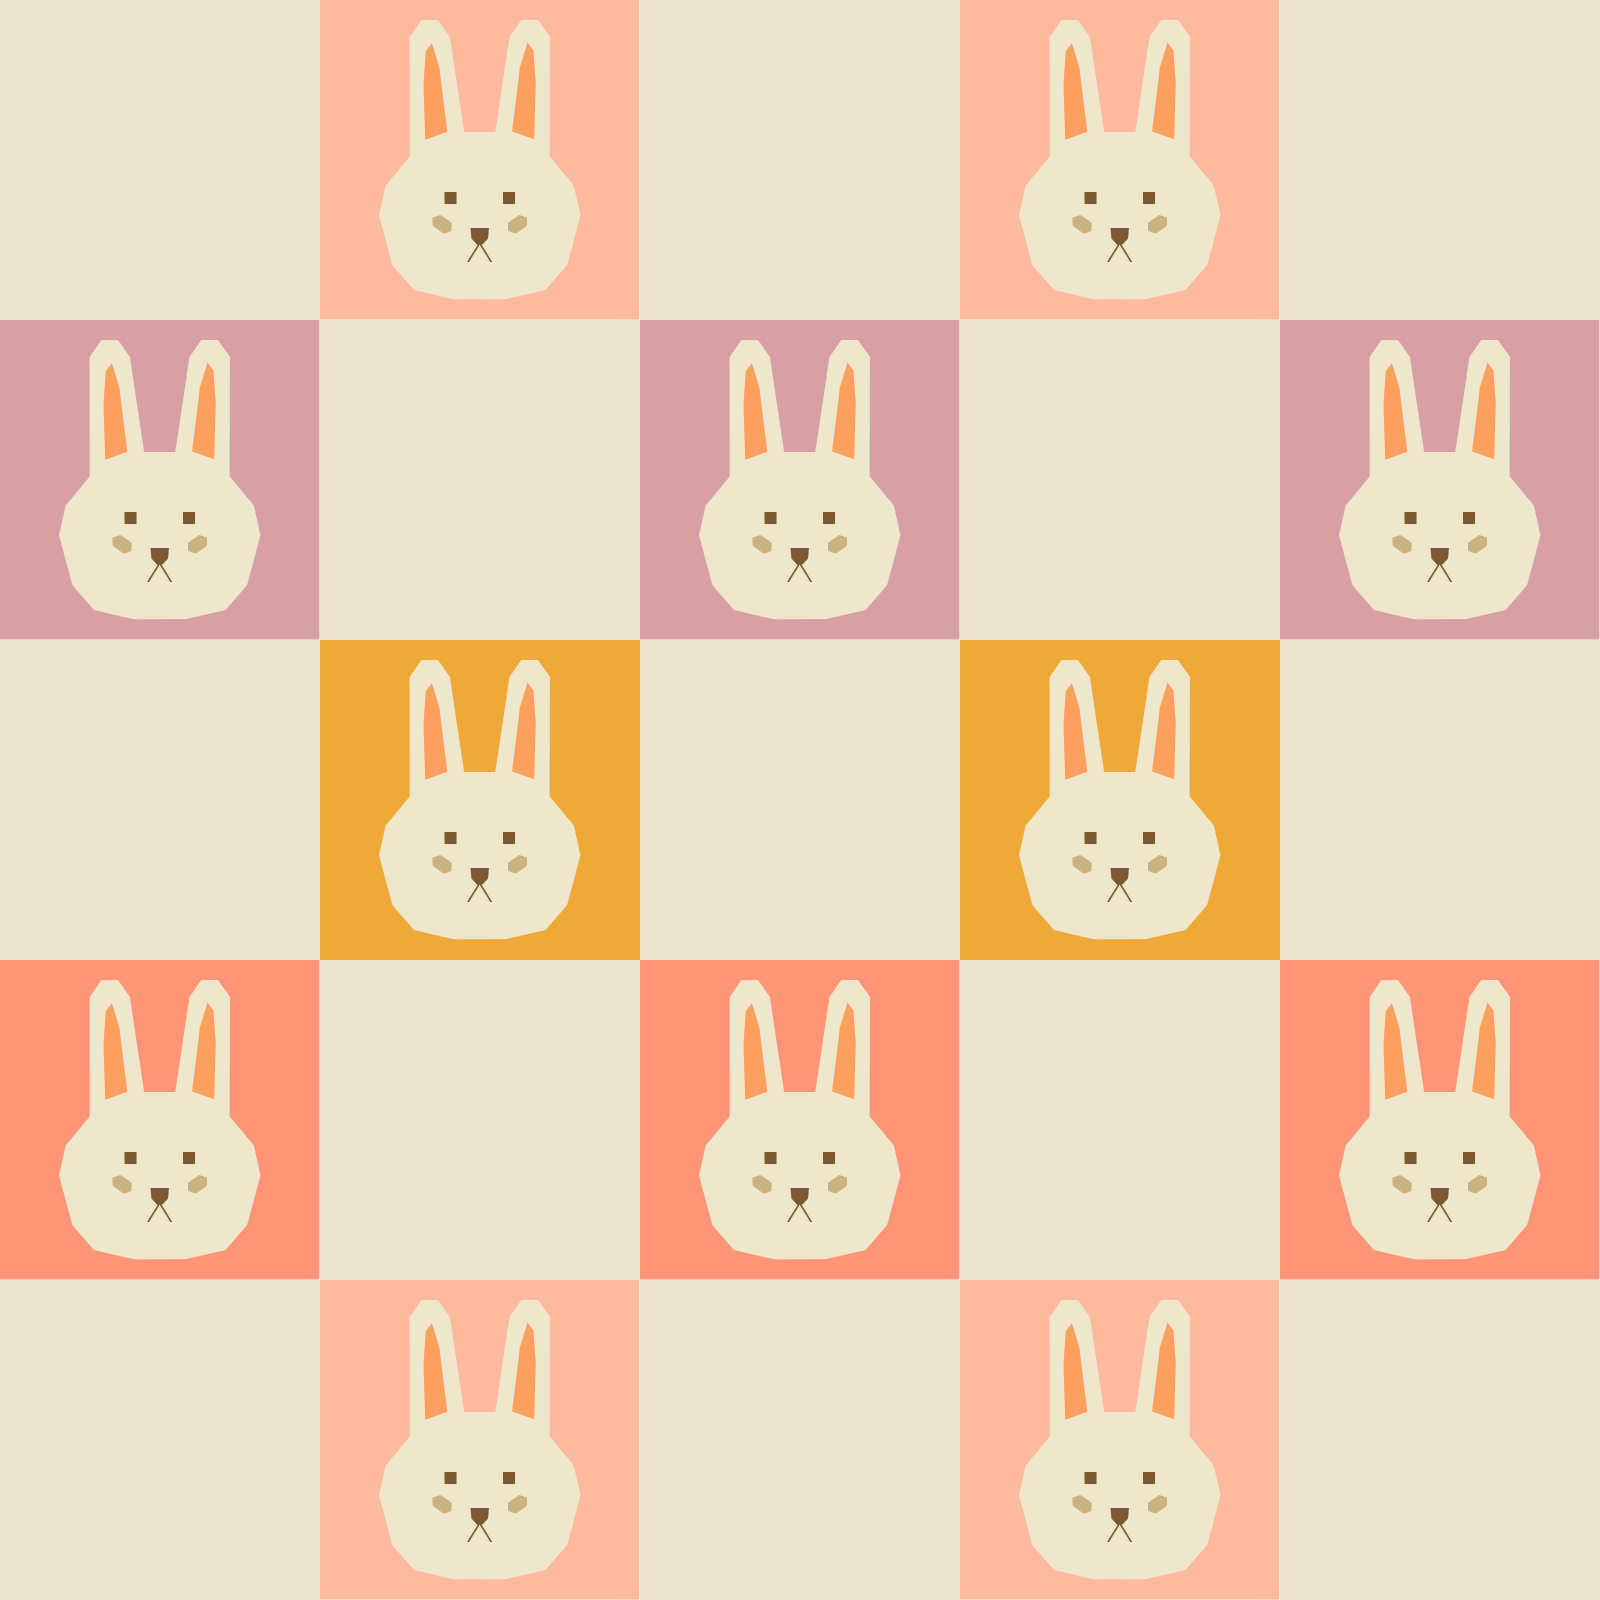
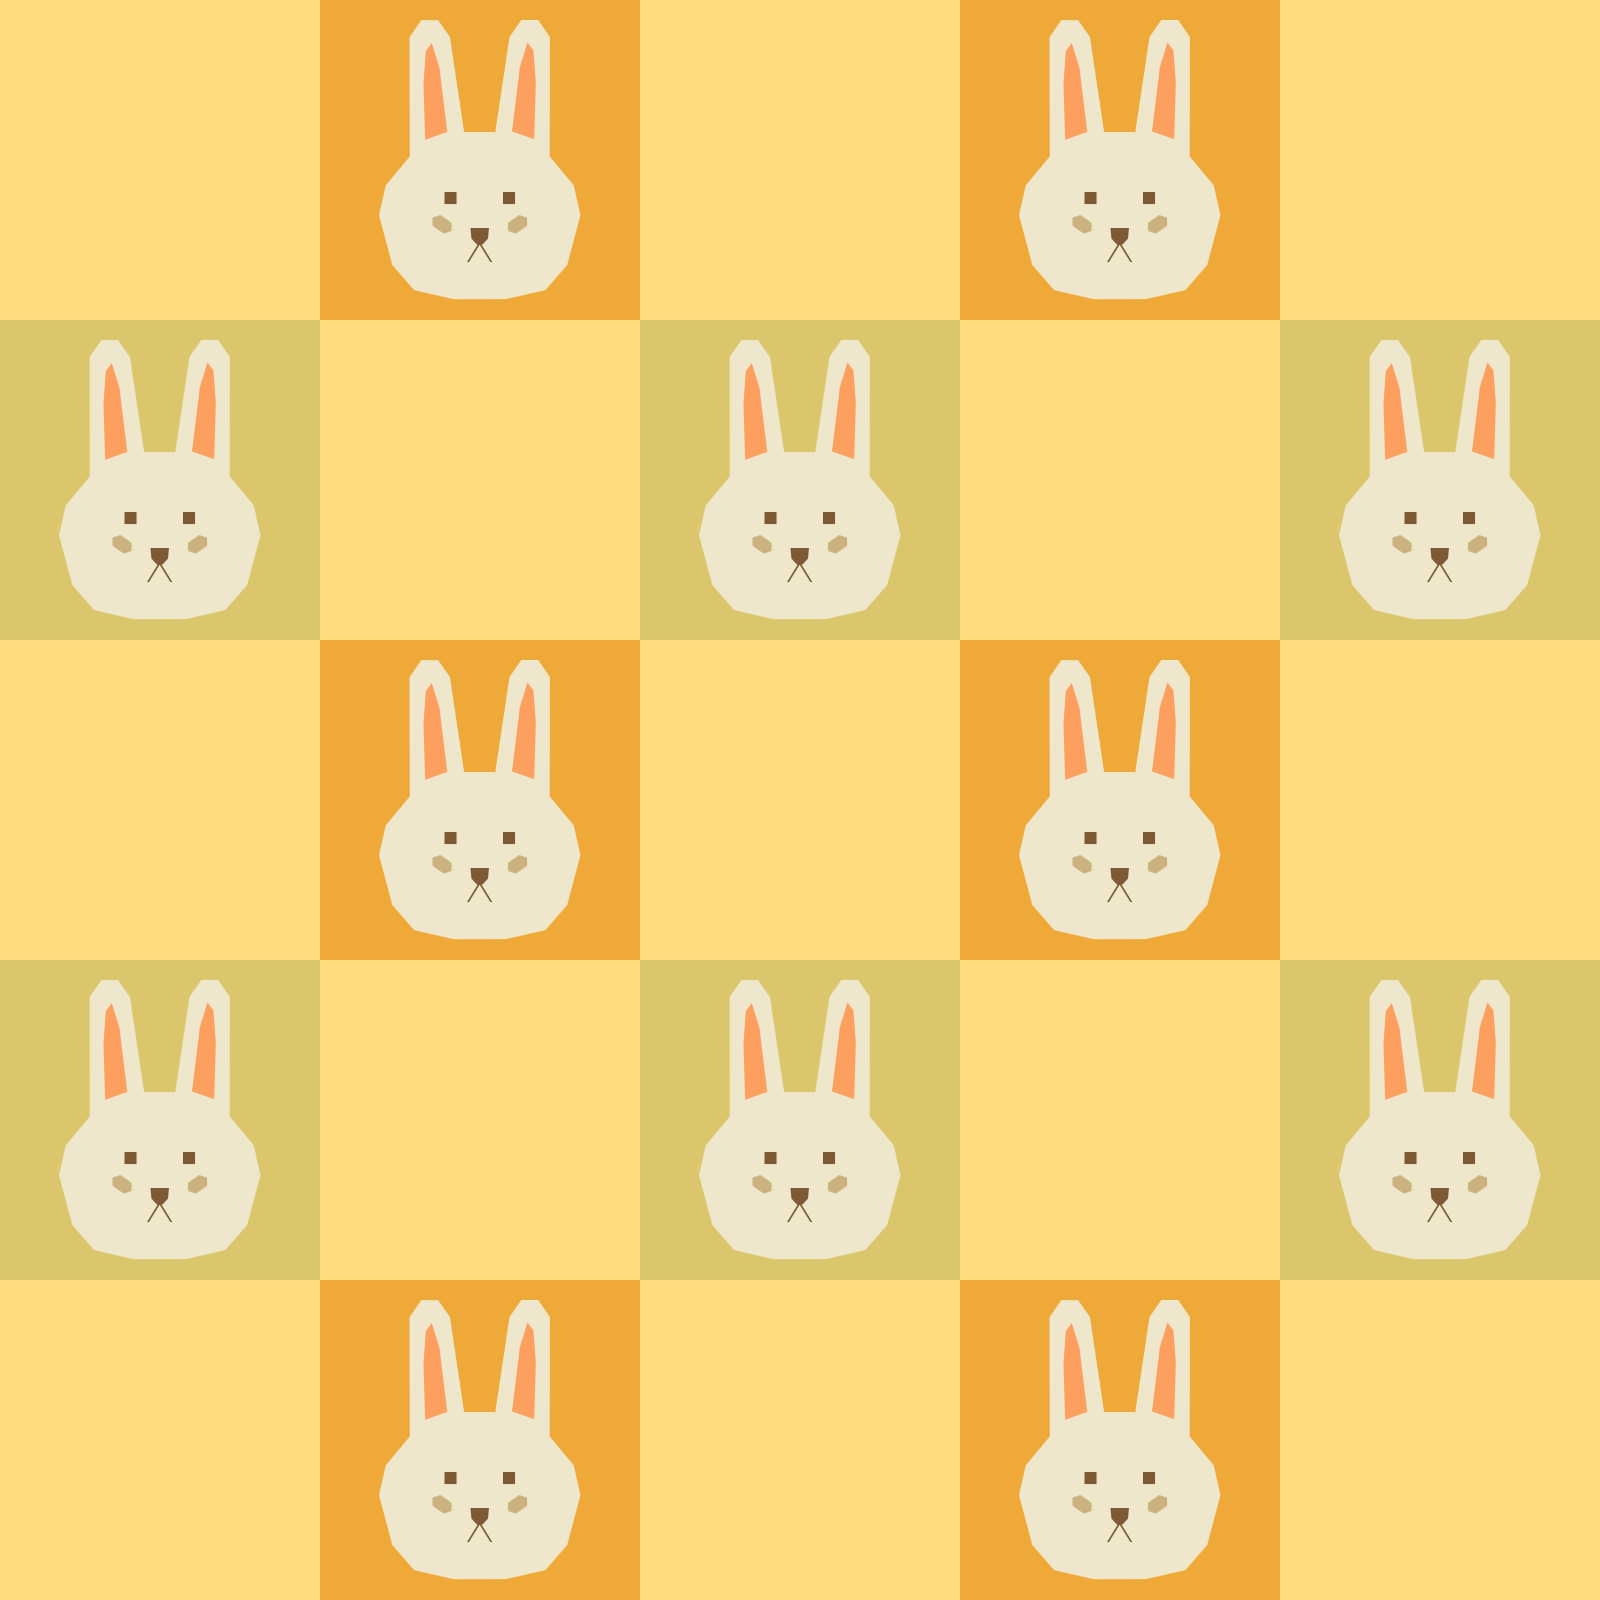
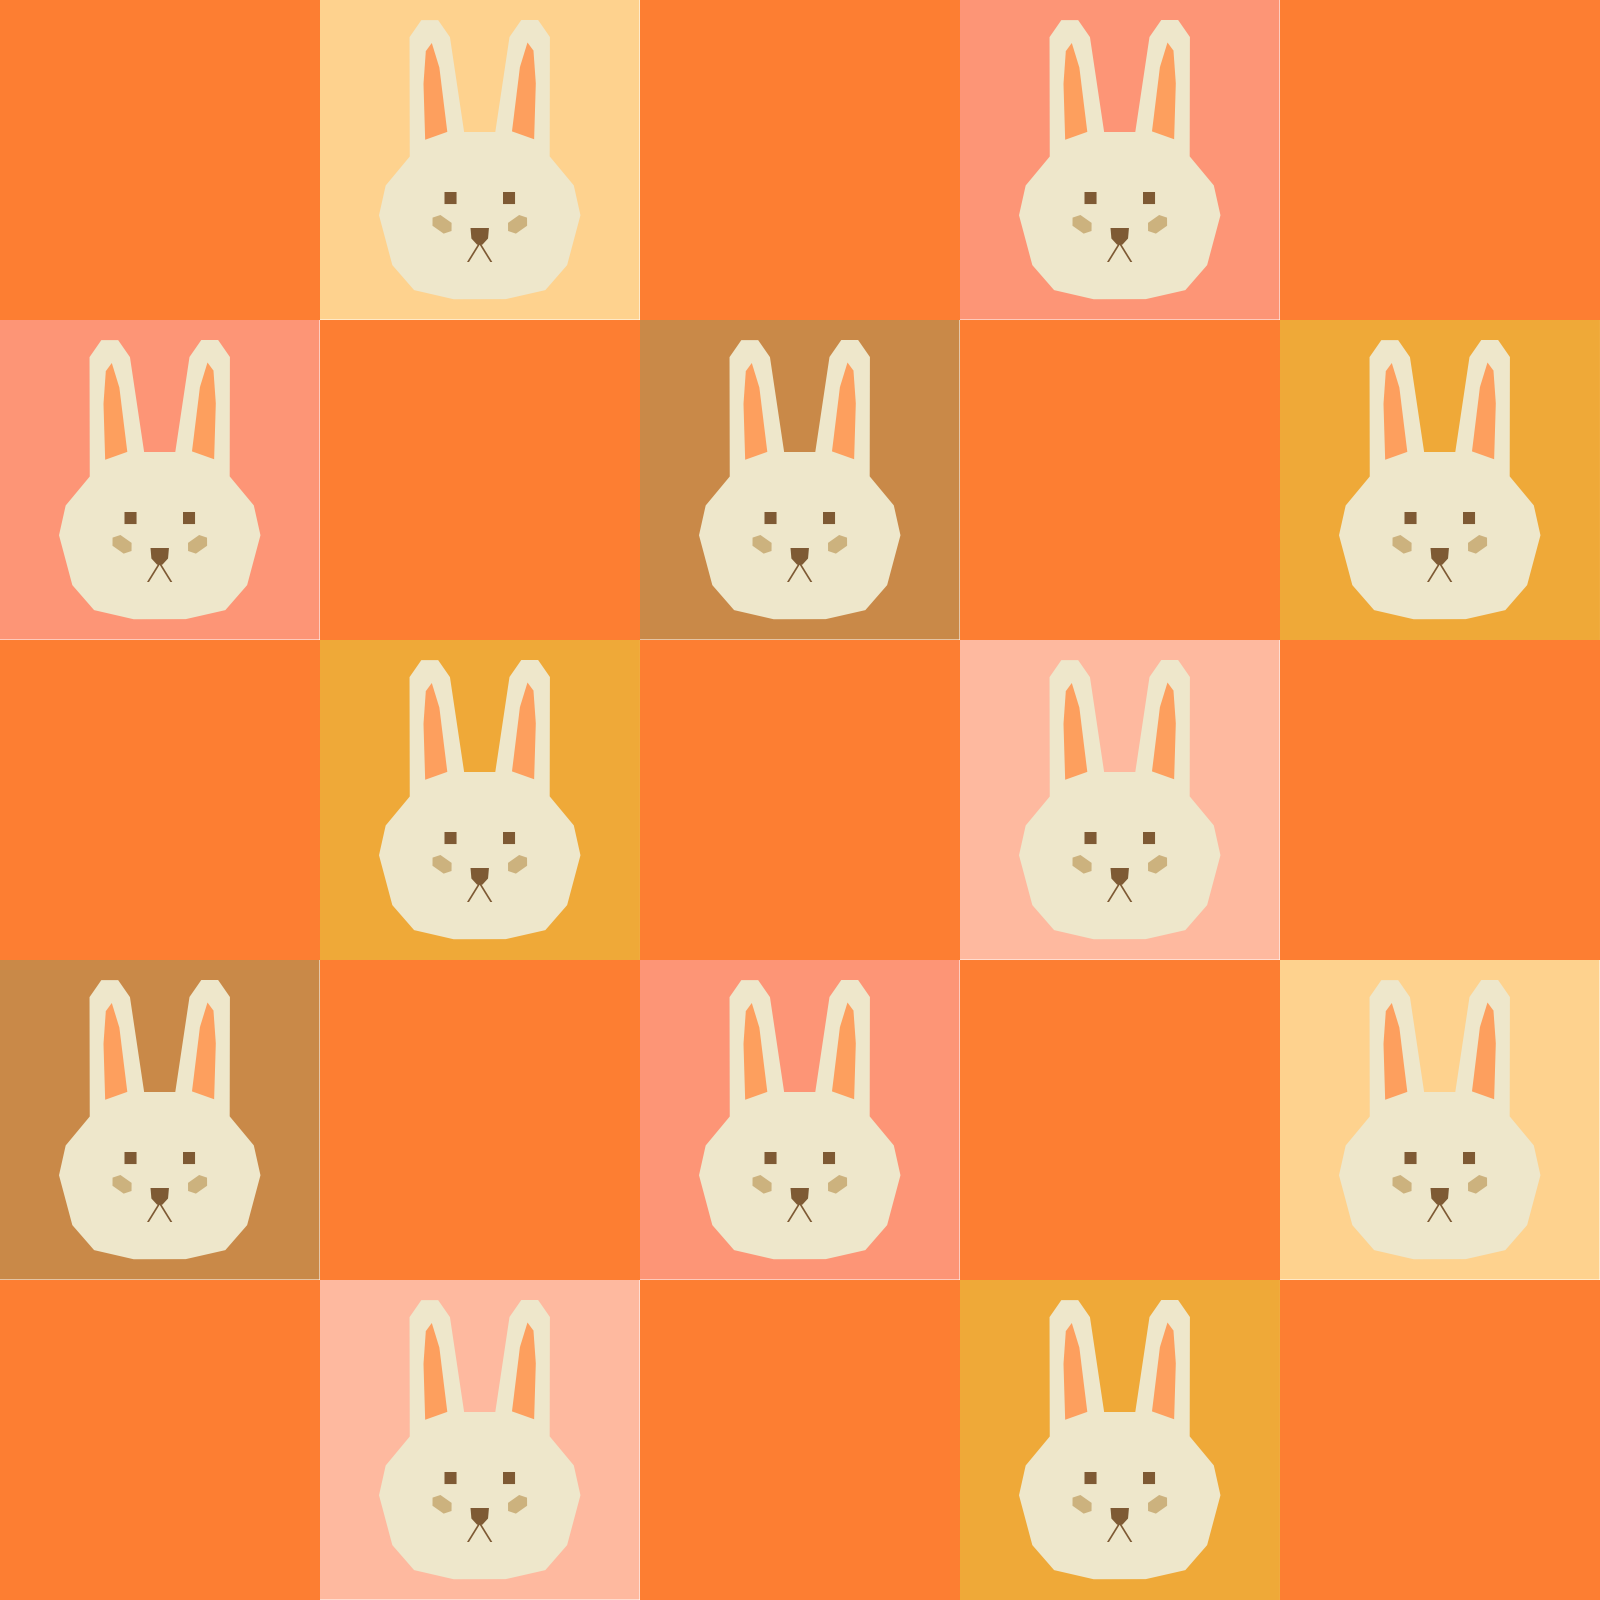
To get your creative juices flowing, here’s a few different layouts you may consider. By simply changing up the background fabric used for the Little Cottontail blocks, you can get quite a different look:
Row by Row
On each row, highlight a different coloured background for Little Cottontail.


Checkers
Use two different coloured backgrounds for Little Cottontail, and alternate the two colours by row.

Randomise
Mix it up and make the background of each Little Cottontail different. This randomised colourway makes a great opportunity to use what’s in your scrap stash.


Block, Fabric Requirements and Cutting Directions
Download the Little Cottontail FPP block pattern here and make a total of 12 Little Cottontail quilt blocks. Set blocks aside for Directions, Step 1.
As previously mentioned, fabric requirements and cutting directions for the Little Cottontail quilt blocks are excluded. Fabric quantities are based on 42in WOF (width of fabric). Iron all fabrics and remove selvedge before cutting. Cutting dimensions include ¼in seam allowance. Fabric requirements are bolded in the table below.
|
Fabric A |
1 yard (92 cm) |
|
Backing Fabric |
2⅜ yard (218 cm) |
|
Binding Fabric |
⅜ yard (35 cm) |
Directions
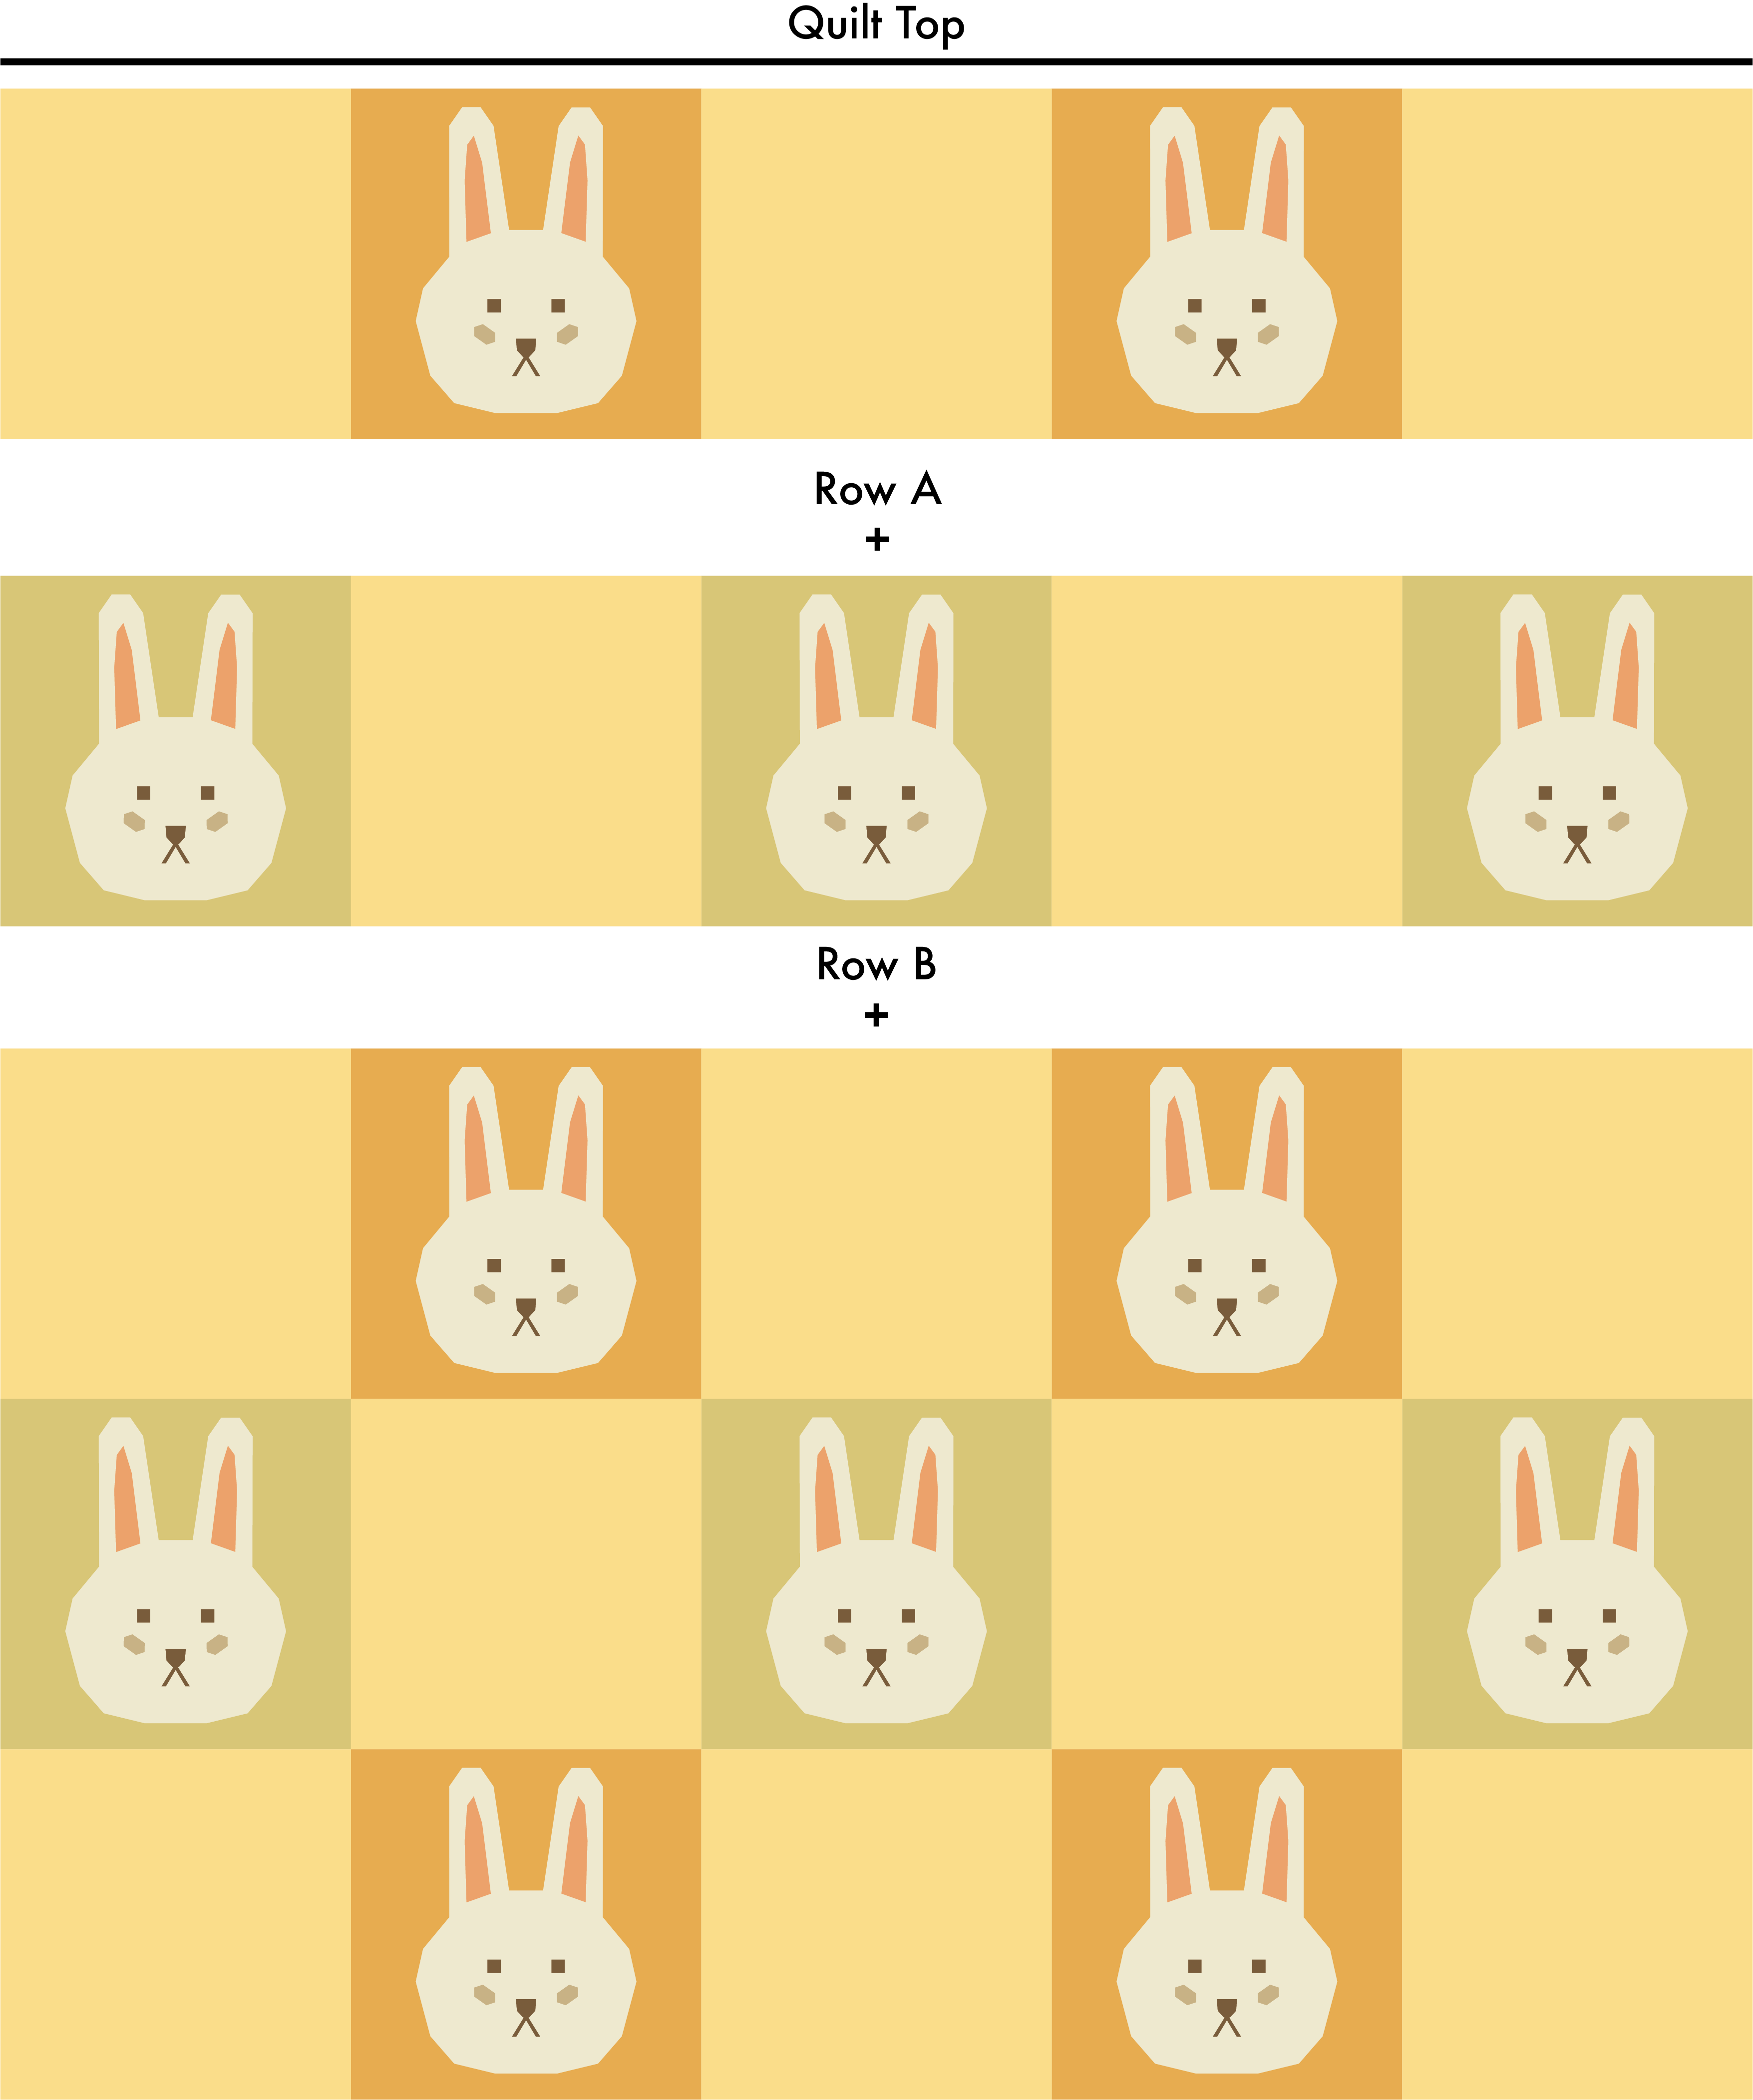
The Checkers colour inspiration was used in the diagrams below.
Step 1: Create one (1) Row A unit by sewing together three (3) Fabric A squares and two (2) Little Cottontail quilt blocks as shown in the diagram below. Press the seams as you go.
Repeat this step to create a total of three (3) Row A units.

Step 2: Create one (1) Row B unit by sewing together three (3) Little Cottontail quilt blocks and two (2) Fabric A squares. Press the seams as you go.
Repeat this step to create a total of two (2) Row B units.

Step 3: Create Quilt Top starting with Row A, alternate and sew together Row A and B units as shown in the diagram below. Press the seams as you go.

Step 4: Press the quilt top and backing fabric. Baste, quilt and bind as desired.
Look forward to seeing what you create with the Little Cottontail quilt block! if you like what you see in this tutorial and would like to make a baby quilt too, download the Little Cottontail quilt block pattern here.
